Showing posts with label chocolate. Show all posts

Wednesday, November 2, 2016

No Bake Brownie Bites

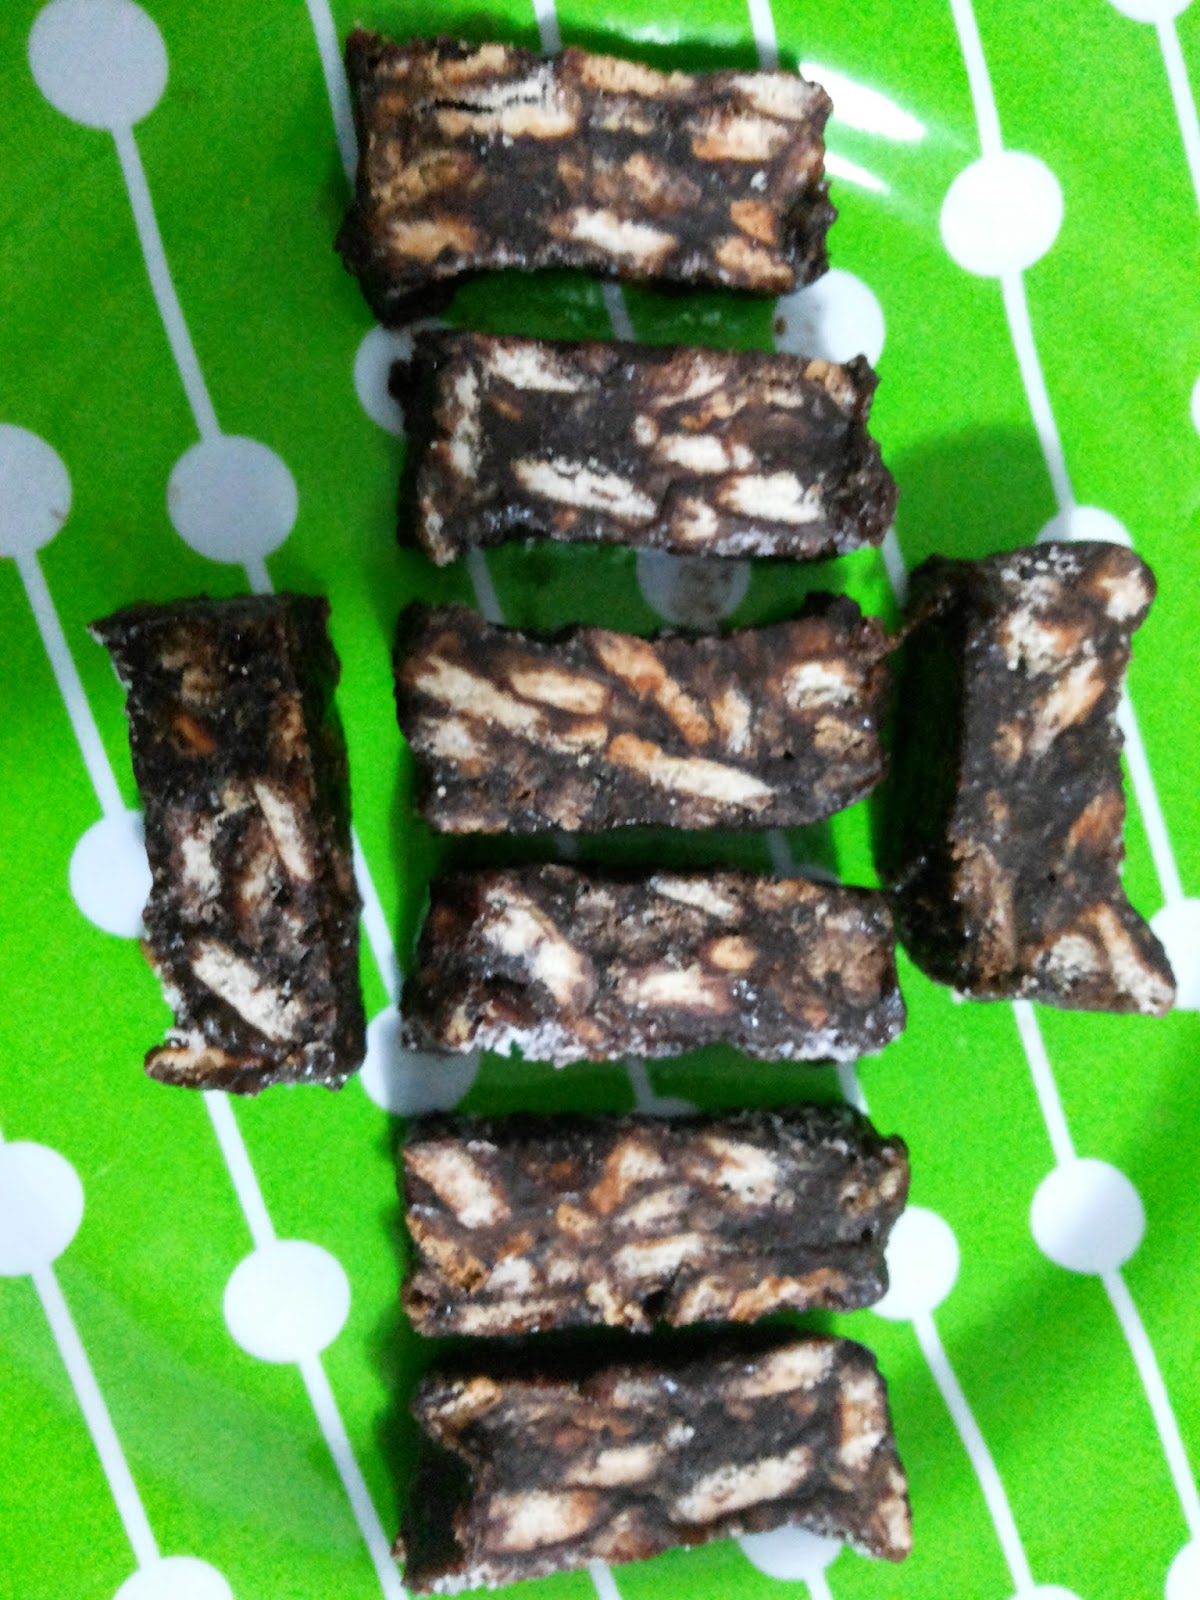
Hello and a very happy Deepawali to all my dear readers  (sorry for wishing a bit late). After a long time I am coming back to check on my dear little blog.  Anyways, today's recipe will make up for all the delay :)  Its a No Bake Brownie that I made bite sized using my chocolate moulds.  You can make it in any shape and size.  Its pretty easy and even kids can make it with a little help.  Since I used microwave, it didn't take much time.  Just a handful of ingredients are required and you are ready to have a delightful and festive sweet in no time.  So lets start making these cute looking brownie bites.  Happy Cooking :)


Preparation time - 5 minutes
Cooking time - 10 minutes
Makes - 10-12 pieces

Ingredients:

Grated cooking chocolate   - 1/2 cup
Crushed biscuits 
(I used milk bikis)               - 1/2 cup
Condensed milk                  -  2 tbsp
Chopped nuts                      -  3 tbsp
Butter                                  -  1/2 tbsp

Method:
  • Take chocolate and butter in a microwave safe bowl and microwave for 15 seconds.  Remove and stir well.  Again microwave for 15 seconds.  Remove and mix.  At this stage, chocolate would start melting.  Microwave for another 10 seconds and stir well.  If chocolates is melted then you go ahead with the process, if not then again put it in the microwave for another 10 seconds.  
  • Add condensed milk in the melted chocolate and give a nice stir.  Add crushed biscuits and nuts and mix well everything.
  • Shift the mixture to a greased pan or silicon moulds and refrigerate for 1-2 hours.
  • Serve.


Notes:
  1. If you are using some lightly sweet biscuits then use some powdered sugar to adjust the sweetness.
  2. Any nuts of your choice can be used.

Sunday, March 8, 2015

Banana chocolate ice cream

Banana is a very versatile fruit. You can convert it into a shake, cake, bread, muffin, pan cakes or anything your imagination allow. Whenever I find some over ripe bananas at home I make any one of the aforementioned goodies.  Anything made with banana can never go wrong (atleast I feel so :) )
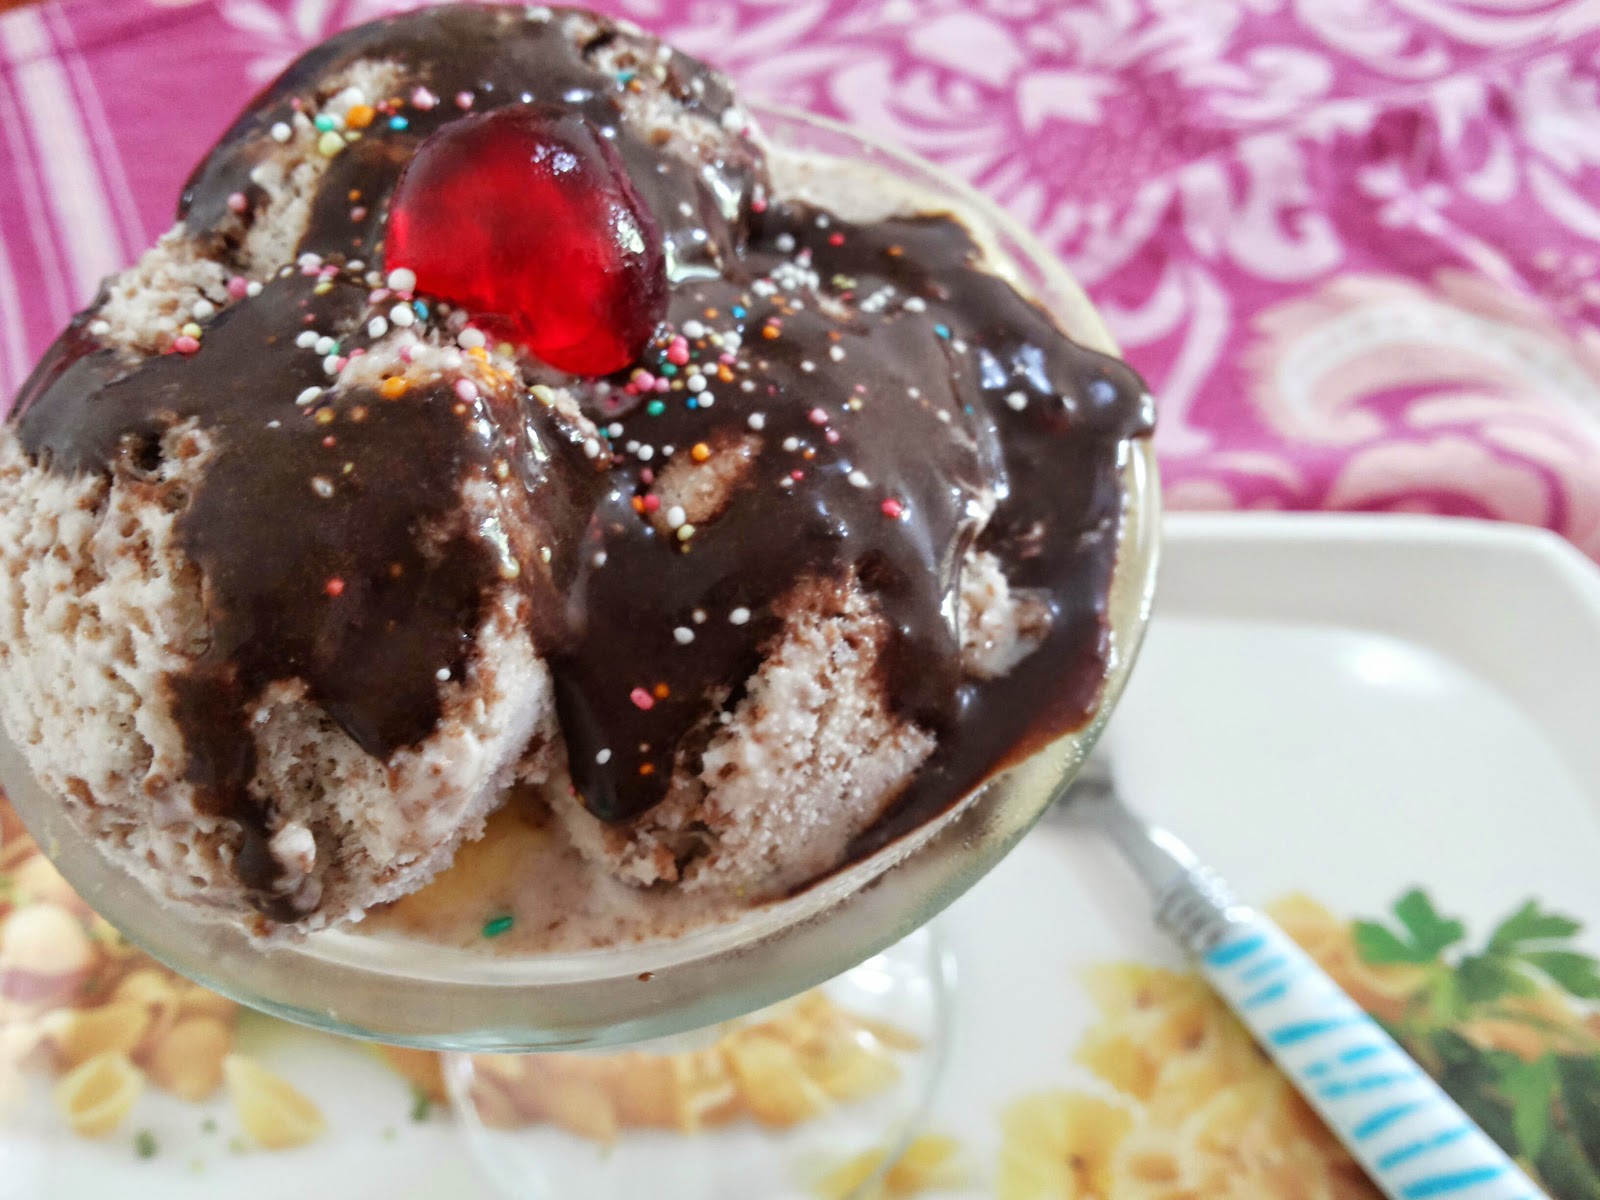
This time I wanted to make something new and after searching on internet I came across some innovative banana ice creams.  Its a very flexible recipe so you can add in your choice of ingredients (with banana of course) as I did.  Here I added dessicated coconut, condensed milk and my chocolate frosting.  I was not sure at all what it would be like but to my surprise it came out very nice.
The best thing in this ice cream is that it does'nt need any cream or gelatine or any fancy ice cream machine.  You don't even need to freeze it overnight or whip it on frequent intervals to avoid the formation of air bubbles.  Just freeze it for 2 hours and its good to go.  Trust me its worth trying atleast once.  Its a nice dessert for kids parties too. 
I had made this ice cream a few weeks back and today I am going to try it again but with some variations.  If this experiments too comes out nice then I will post the recipe soon.
Here I am sharing the recipe of this wonderful ice cream.  Do try it.
Happy Cooking :) 


Ingredients:

Banana
1 (small)
1 tbsp
Dessicated coconut
1 tbsp
Condensed milk
1 tbsp
Glazed cherry
1
Sprinkles to garnish


Method:
  • Take the banana and peel it off.  Chop it into round slices and shift to a zip-lock bag.  Put it in the deep freezer for at least two hours.
  •  Take the frozen banana and put it in the blender.  Blend it till smooth and creamy. 
  • Add dessicated coconut, chocolate frosting and condensed milk.  Blend again for 30 seconds.
  •  Shift the mixture into an airtight container and freeze for 1-2 hours.
  • Serve chilled, topped with glazed cherry and sprinkles.


Notes:
  1. Always use ripe, clean and firm bananas for this ice cream.  Use of over ripe bananas would make it taste sour.
  2. If not using chocolate frosting then sugar would need to be added.
  3. You can add nuts too.


Thursday, February 26, 2015

Fruity Custard & Ice-Cream Twist

I love fruit custard.  Whenever I see so many fruits lying in the fruit basket the only thing that comes to my mind first is the fruit custard.  Its a very good way to consume different fruits together.  I like the thick consistency of custard.  I love to serve fruit custard with a twist.  This way it gives a visual treat at the same time totally unique taste that is obviously delicious. :)
I always serve it differently and it gives me immense pleasure when it comes out yummy.
So here is one of my experiments with fruit custard that is surely gonna be your favourite too.  Here what you will first notice is the beauty of the whole dessert.. it looks stunning... I lovedddddd it.  Its so easy to make too.  Just assemble the things and dig in straight away.
I was very confused as to what name should I give to this dessert.  Finally decided Fruity Custard & Ice-Cream Twist. nothing better came to my mind :D 
Here again I used my chocolate frosting that is not getting finished up.. huhh :D
I recommend to use sweet n salty biscuits for the base.. they gave it a very nice crunch n flavour.. Icecream should not be any other than vanilla or chocolate.. I used Stracciatella (vanilla icecream with small bits of chocolate). You can decorate the dessert with your choice of things.
So what are you waiting for guys . go n try it out. Happy Cooking :)


Ingredients: 

Vanilla custard (prepared in thick consistency)
1 cup (chilled)
Banana
1 (small)
Apple
½ (small)
Black grapes (deseeded)
5-6
Black raisins
10
Vanilla /chocolate icecream
6 scoops
Sweet n salty biscuits
6
Chocolate frosting/sauce
1 tbsp
Sprinkles
½ tsp
Glazed cherry (halved)
1


Method:
  • Take the biscuits and crush them coarsely.  Set aside.
  • Take all the fruits and chop them.  Set aside,
  • Take a bowl and pour chilled custard in it.  Add in all the chopped fruits and black raisins.  Mix well.  Set aside.
  • Take two serving glasses and put a layer of crushed biscuits in the bottom of both the glasses.
  • Then carefully pour 4 tbsp of fruit custard in each glass without messing the sides of the glasses.
  • Top it up with ice cream and finally pour chocolate frosting / sauce over the ice cream.  Decorate with sprinkles and finish it with a glazed cherry on the top.
  • Serve immediately.


Wednesday, February 25, 2015

KFC style Cold Coffee

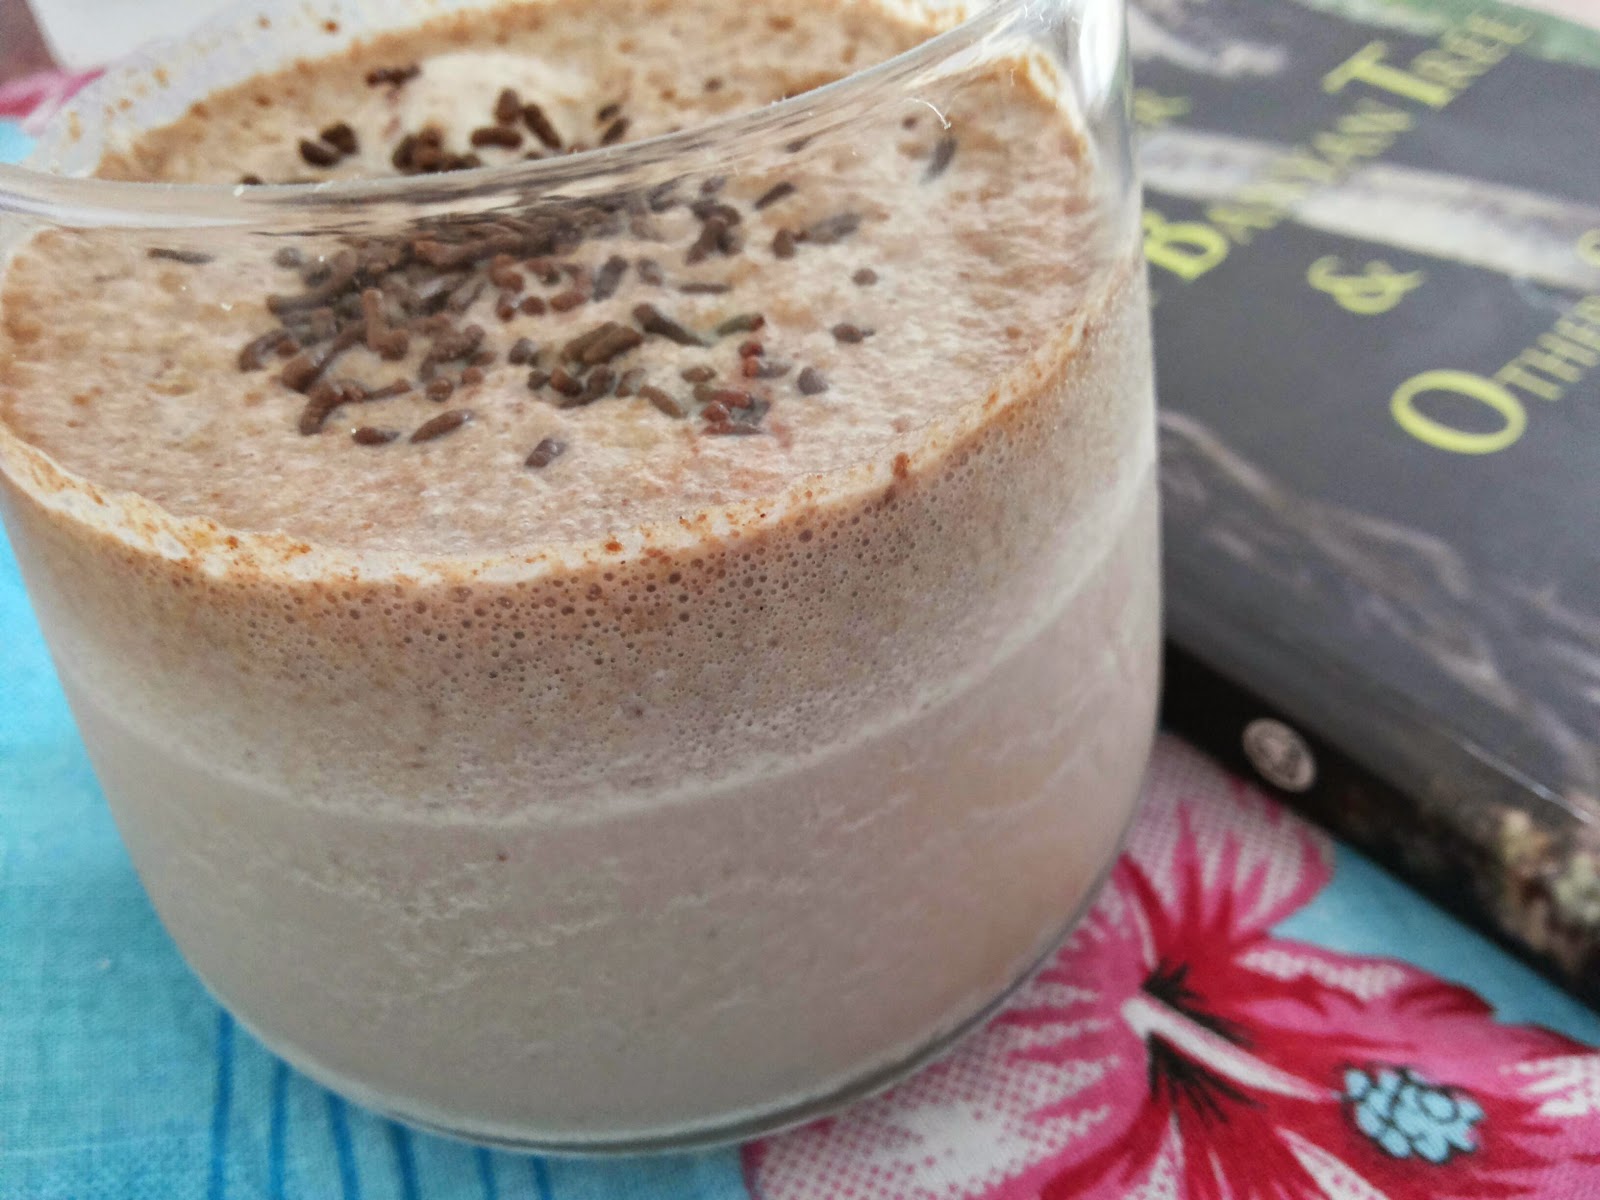
I love KFC cold coffee.  In India, its a sure thing for me to have whenever I go out for shopping.  I just love the thick chocolaty coffee and crunchy chocolate bites that comes in between the sips and at the bottom.  Here, there is no KFC and no that yummy cold coffee, so when a few days back I craved for my fav cold coffee I decided to make it by myself.  I went to the kitchen and whatever came to my mind I just threw in the blender and what came out at the end was just mind blowing.  It was not exactly like the KFC one but surely delicious.  I simply loved it.  Its so easy too.  I also used my leftover chocolate frosting in it but you can easily substitute it with chocolate chips or grated chocolate.  It was so good that I thought to share it with my readers hence this post.
Enjoy ...  Happy Cooking :)


Ingredients:


Milk
1 ½ cup
Ice cream (Vanilla or Chocolate flavour)
2 scoops
Coffee powder
½ tsp
Chocolate frosting
1 tbsp
choco chips/grated chocolate  (if not using choco frosting)
2 tbsp
Sugar (if not using chocolate frosting)
1 tbsp
Chocolate cookies (Bourbon or Oreo)
4
Ice cubes
3-4
Choco vermicelli
To garnish

Method:
  • Take ice cubes, milk, chocolate frosting/choco chips/grated chocolate, coffee powder and sugar in a blender and pulse for 10 seconds.  Add icecream and chocolate cookies and pulse for another 6-7 seconds.  
  • Pour into the serving glasses.  Garnish with choco vermicelli.
  • Serve immediately.


Notes:
  1. If not using chocolate frosting add one tbsp sugar.
  2. Quantity of chocolate can be increased according to the taste.
  3. Serve the coffee immediately else the ice and icecream would melt and you wont get the real taste.


Saturday, February 21, 2015

Hot Chocolate


Hey frnds. who loves chocolate... ???  Meeeeeeeeeeeee :)
Its 12.30 midnight here and I am enjoying my hot chocolate.  I love it n simply love it.  Its a comfort drink for me.  Whenever I get time to relax in the evening (of course when my LO sleeps) I enjoy that relaxing time with this delicious hot chocolate.. After trying so many variations, I ended up on this one and this has become  my favourite one.  
Its so easy yet yummy..  I hope you would also like it.
So here I am sharing the recipe.. Try it and enjoy...
Happy Cooking :)


Ingredients:

Milk
1 ½ cup
Coco powder
1 ½ tbsp
Sugar
2 tbsp
Drinking chocolate powder
½ tsp + ¼ tsp for sprinkling
Vanilla essence
¼ tsp


Method:
  • Take a pan and add 6 tbsp milk and put it on flame.  Let it a bit warm and add coco powder and sugar.  Mix well and let the sugar dissolve.  Add the remaining milk
  • Add chocolate powder and mix again. Let the mixture boil.
  • Once boiled, remove from the flame and add vanilla essence.  Mix well again.
  • Pour it into the coffee mug and sprinkle drinking chocolate powder on the top.
  • Serve hot.


Friday, February 20, 2015

Eggless Chocolate Cake with Chocolate Frosting

Happy Valentine's Day to all my readers :)
I know I am late to wish you guys but as you know I dont get much time to post here due to my 16 months old baby :)  Hope I am excused now :)
Now lets come to today's recipe.  For making our Valentine's Day special, I made a super special chocolate cake and I was so keen to share the recipe with you as the cake came out so yummilicious.
I was so confused whether to make an eggless cake or one with egg.  Finally ended up on eggless and made it.  As I wanted it to look nice I also made a chocolate frosting that complemented this cake very well.
All my efforts paid off when hubby tasted the cake and said DELICIOUS !!!! :)
As I made it specially for Valentine's Day I could'nt take nice clicks but trust me it was the best cake I have made so far.  Soft, moist and super chocolaty.  I recommend to try it once.
Now coming to the frosting.  Its so easy that you wont even think twice to try it out.  It was so yummy that I couldn't stop myself licking the spoon to have those last drops dripping from it hehehehe.  You don't need any cream or butter to make this frosting and the end result will amaze you completely.  
You know what, in this whole recipe I have not used any butter :) isn't it great.. 
I had shared this cake with two of my friends (P and T) also and they too liked it very much.. and gave some nice complements.. that was so nice of you gals :)
Okay so now I am leaving you with this super yummy chocolaty chocolate cake. Do try and enjoy.  Happy Cooking :)


Ingredients:


For the cake

All purpose flour
1 ½ Cup
Coco Powder
¼ cup
Brown sugar
¾ cup
Oil
¼ cup
Baking powder
1/8 tsp
Baking soda
1 tsp
Salt
1/8 tsp
Vanilla essence
1 tsp
Water
1 cup + 2 tbsp
Lemon juice
1 tsp
Choco chips
2 tbsp
Coffee
¼ tsp


For the chocolate frosting

Grated dark chocolate
¾ cups
Choco chips
½ cup
Milk
½ cup
Drinking chocolate powder
3 tbsp
Vanilla essence
½ tsp
Castor sugar
1 tbsp


For honey syrup

Honey
1 tbsp
water
1 tbsp


For decoration

Glaced cherries
3
Colored sprinkles


Method:

  • Take a square 8 inch baking pan or two round 4 inch baking pans and grease with oil then dust with some flour.  Keep aside.
  • Sift together all purpose flour, coco powder, baking powder, baking soda and salt.  Set aside.
  • In a mixing bowl, take water and add in brown sugar, vanilla essence, oil and lemon juice.  Mix everything very well so that sugar gets dissolve.  Add coffee and mix again. 
  • Preheat the oven at 180 degree.
  • Take the flour mix and add in little by little to sugar water mix.  Mix well to avoid lumps.  
  • Finally add choco chips and give a quick stir.
  • Shift the batter to baking pan/pans.  (If using two baking pans divide the batter equally in both the pans).
  • Bake for 35 minutes or till a knife inserted comes out clean.  
  • Remove from oven and let it cool for 5-10 minutes (not more than that).
  • Take it out from the pan and keep on a wire rack till it gets cool.
  • Cake ready.

Frosting
  • Take grated chocolate and choco chips in a mixing bowl.  Keep aside.
  • Take the milk in a saucepan and put it on flame.  Add in castor sugar and let the milk boil.  Once boiled remove it from the flame and add vanilla essence.
  • Pour the boiled milk over the chocolate chips and leave it for 2 minutes.  Whisk well and keep it in the fridge and keep whisking every after 1 hour till you get the right consistency.once the chocolate gets melted with milk add in drinking chocolate powder and whisk again.
  • Again put it in the fridge to get the desired consistency.  
  • If you want a bit thick frosting add some more drinking chocolate powder or if you want a bit thin frosting add some more milk.
  • Frosting ready.
Honey syrup
  • In a small bowl, add honey and water.  Mix very well.  Syrup ready.
Process of assembling
  • Take the cake, honey syrup and frosting. 
  • I made one square cake and cut it into half to make the double layer.  If you make two small cakes, take one cake and brush the honey syrup generously over it.  Repeat the same with the lower part of the other cake.  Leave the cakes for 10 minutes.
  • Then take the first cake and put some frosting over it.  Spread the frosting over the cake evenly and sandwich with the other cake and frost it similarly with the frosting.  Cover the whole cake with the remaining frosting from all sides.  Decorate with sprinkles and glaced cherries.
  • Keep the cake in the fridge to get it set atleast for 2  hours.
  • Enjoy.


Notes:
  1. White sugar can also be used in place of brown sugar.
  2. The batter should be a bit watery.  If you find it thick add 1-2 tbsp water.
  3. You can replace the dark chocolate with choco chips.
  4. For the frosting, if you don't have drinking chocolate powder you can decrease the quantity of milk by 1/4 cup to make the frosting.
  5. Do not remove the cake from the pan immediately else it could break.  Let it rest for 5-10 minutes.
  6. You can decorate the cake as per your wish.
  7.  Keep checking the cake after 20 minutes of baking.  Mine took exact 35 minutes to bake.  However, every oven takes different time for the same job so keep an eye.

Wednesday, February 11, 2015

Sticky Choco Bistix

Hello to all.  So finally I am here after almost a month.  Actually, I was feeling too lazy to type anything  But its better late than never hehehehe.
Today I have come up with an easy peasy recipe which would be a hit with the kids.  No fancy ingredients and no consumption of your precious time :)
I had all the ingredients in hand and a big packet of marie biscuits which was begging to be used .. so I add up a few more things with it and got this yummy dish called sticky choco bistix.  After tasting it for the first time I was so thrilled coz it was too good but when I thought of posting it here I had no name for this dish.  It was a bit sticky and had a lot of chocolate with biscuits, hence this name.
Hope you will try it for your kids.
So no more chit chat.. just try it and enjoy.
Happy Cooking :)


Ingredients:

Marie biscuits or any digestive biscuit
5
Coco powder (unsweetened)
3 tsp
Sugar
4 tbsp
Milk
¼ cup
Desiccated coconut
1 tsp
Salted butter
1 tbsp
Any chocolate (grated or cut in small pieces)
(I used ½ of a Bar One chocolate)


Method: 
  • Take biscuits and crush them coarsely (do not make powder).
  • Grease a very small loaf pan (I used a small silicon loaf mould).
  • Heat a non stick pan. Add butter. Let it melt. Add milk and mix well. Once milk gets heated up, add coco powder and mix it well to avoid the formation of lumps.  Add sugar and mix again.  Add chocolate pieces and mix well.  Heat the mixture till the chocolate melts, don’t forget to keep stirring the mixture continuously. Cook for 2 minutes.  
  • Let the mixture be a bit thick.  Add crushed biscuits and mix everything very well.  Remove from heat and pour the mixture into the greased mould/pan.  Even the top.  Sprinkle dessicated coconut and press it with the spatula.
  • Put the mould in the fridge for atleast 1 hour.
  • Unmould and cut into desired shapes.


Notes:
  1. Any lightly sweetened biscuits can be used.
  2. Brown sugar can also be used.
  3. Chopped nuts can also be added.
  4. Do not over cook the mixture.

Featured Post

Pineapple Laddoo